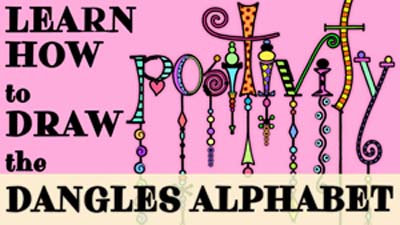
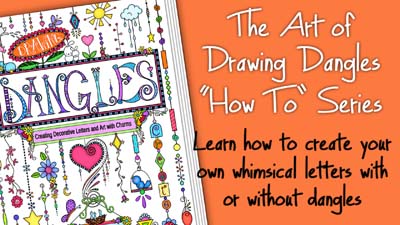
Dangle Lettering for Beginners Tutorial Series by the creator of, “The Art of Drawing Dangles. How would you like for your lettering to go from blah to whimsically charming? I’ve created a fun and whimsical method of lettering that I call Dangles. It was important to me for this to be easy to learn and a joy to do. I have a book that teaches this method of lettering that you can find out more about here:
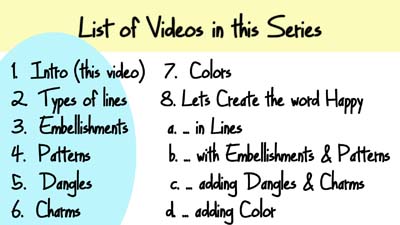
Because of many requests I’ve created a video series about how to draw dangles letters. Below is what the videos will cover tentatively. Since this course wasn’t created ahead of time and I’m creating it as I go along I might add and/or alter what I have listed below depending on what you would like.
If you would like for me to cover something that isn’t on the list please either post it here in the comments or on the video comment section. I also plan on creating a similar type of tutorial for this blog for those of you who prefer to read at your own pace vs watching videos. I would like to suggest possibly using both as they probably won’t be identical, similar but not exactly the same. Some things are easier taught on video, while others the written word seems to work better. I would like to suggest that even if you decide to take this course via my blog that you watch the introduction video as it has quite a bit more information that what I have in this post.
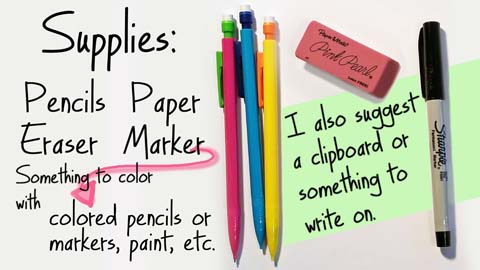
This is a free course for you to learn Dangles lettering whenever you would like to. You don’t need any special skills, no lettering training, no art training, and you probably have everything you need to get started at home already.
You’ll learn about types of lines, how to create letters, embellishments, patterns, dangles, charms, color and more. This is a very easy course and you’ll be creating whimsically fun projects in no time at all. Some of the projects that you might consider using Dangle lettering for are; greeting cards, framed images, art therapy, relaxation, journaling pages, scrapbooking, t-shirts, Law of Attraction words, and many more.
Below are a few images to give you an idea of the progression from the beginning of a letter and word to the finished product. Of course you can create your project in any order that is right for you, I’m simply teaching the method that I felt most comfortable with and that seemed the most logical for me.
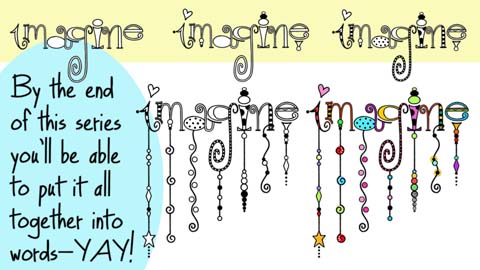
I thought you might enjoy seeing what a few finished projects looks like. I hope you enjoy them and remember by the time you are finished with this easy course you’ll be able to make your own awesomeness!

Please let me know if you have any questions or comments.
Thanks so much and have a fantastic day!
Olivia